This article only covers how to complete and submit the SSC Expense Report template. To review the entire SSC expense processing submission workflow, review
this article.
1. Navigate to https://ssc.umich.edu/travel-expense/ and select the SSC Expense Report Template. The template will automatically download.

2. Open your copy of the template. Review the Instructions Tab for directions and Header Definitions.

3. Click the Data Input Tab to enter the expense details.

4. Enter the expense details in the appropriate columns (columns I-R)

5. To add a list of attendees for Hosting expenses, select the Hosting Attendees Tab.

6. To save your work, click File.

7. Click Save As.

8. Rename the file and click Save.

9. From the eForm, choose Upload the completed Travel & Expense Template.

10. Since the system allows users to enter expenses on behalf of another employee (e.g. an admin entering expenses for faculty), you need to specify who this report is for .

11. Select Yes to prompt the system to display the next field. If the report is for you, choose No and skip to step 9.

12. You must specify the person for whom you are submitting the report.

13. Enter uniqname or first and last name of the employee.

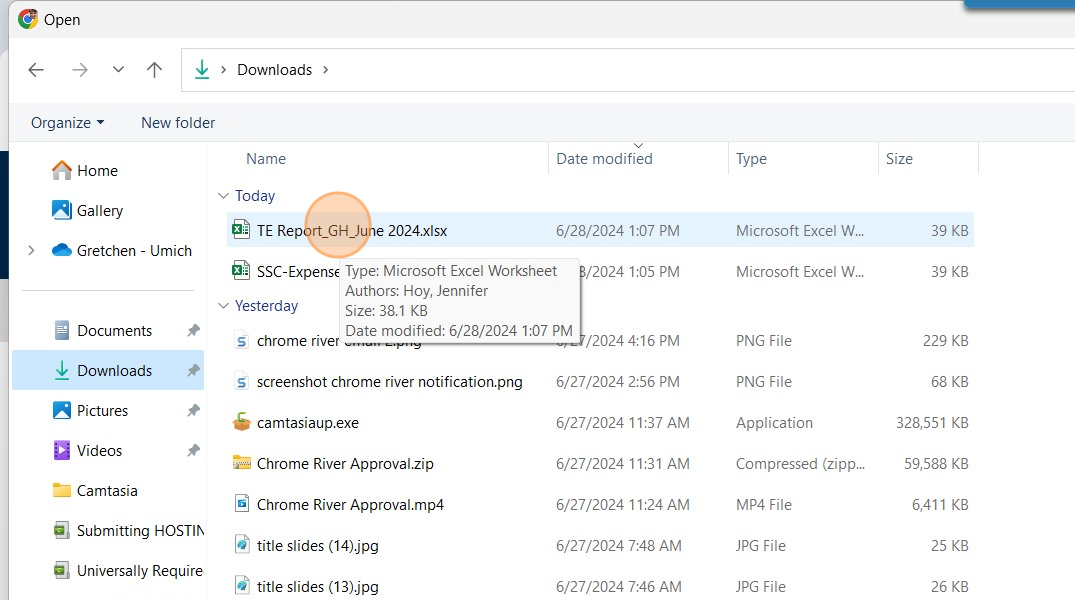
14. Click Browse to attach the completed template that you saved in step 9.

15. Select the completed and renamed copy of the template.
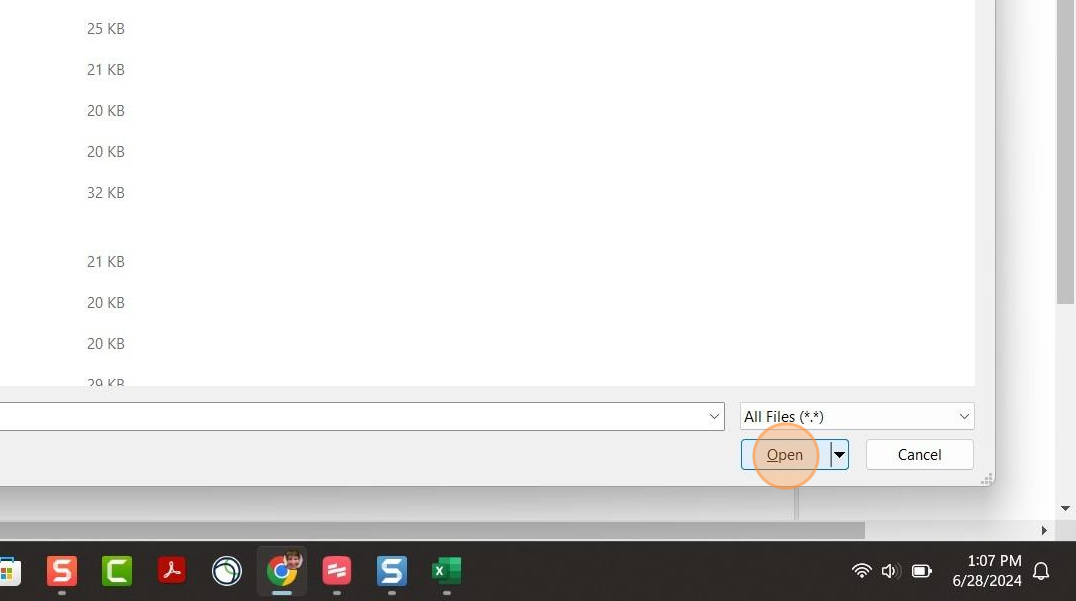
16. Click Open.
17. Click Submit when the eForm is complete.
