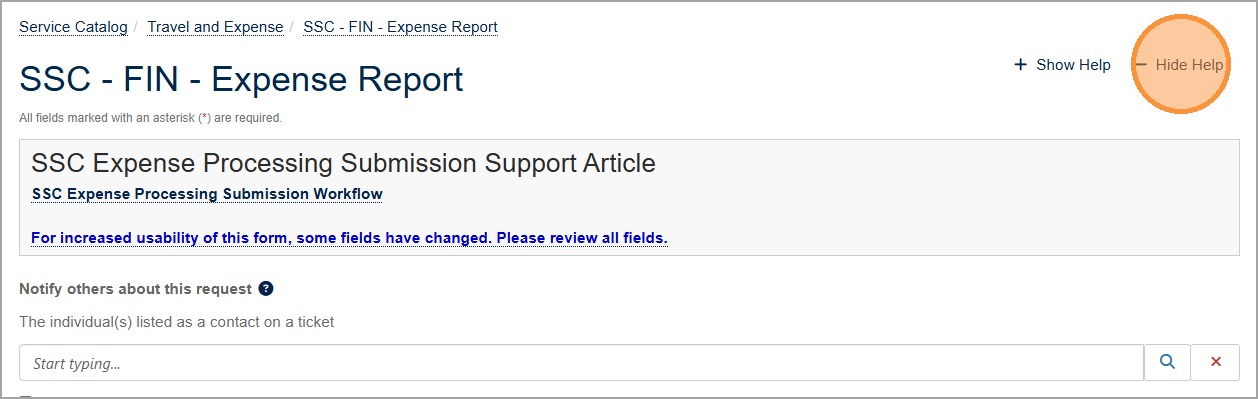
1. The form has Help Text that is displayed by default. Click here to Hide Help .
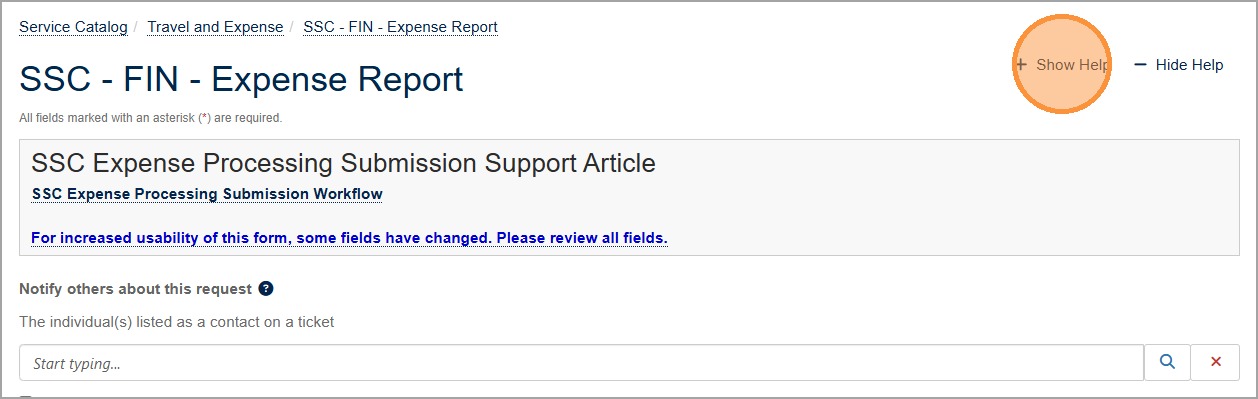
2. Click Show Help to display the Help Text again.
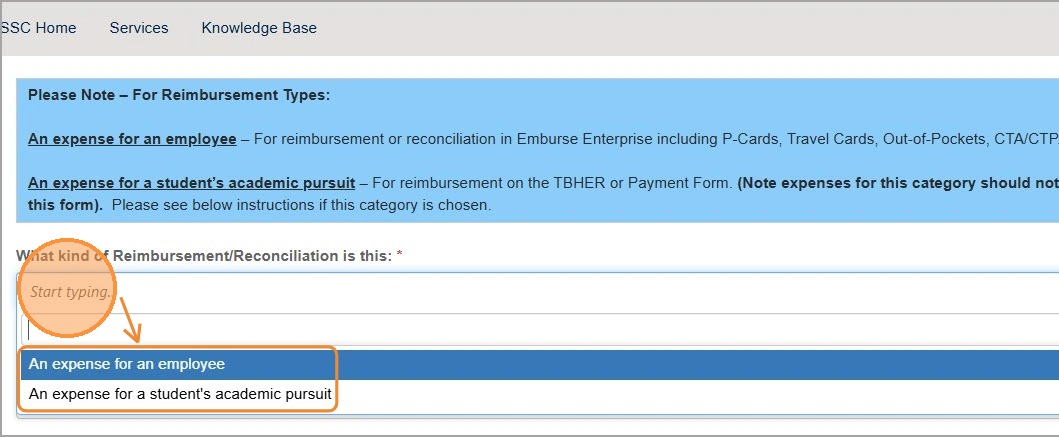
3. Select the appropriate kind of reimbursement/reconciliation. Note: If the request is for yourself, select An expense for an employee.
4. Select Yes to prompt the system to display the next field. If the report is for you, choose No and skip to step .
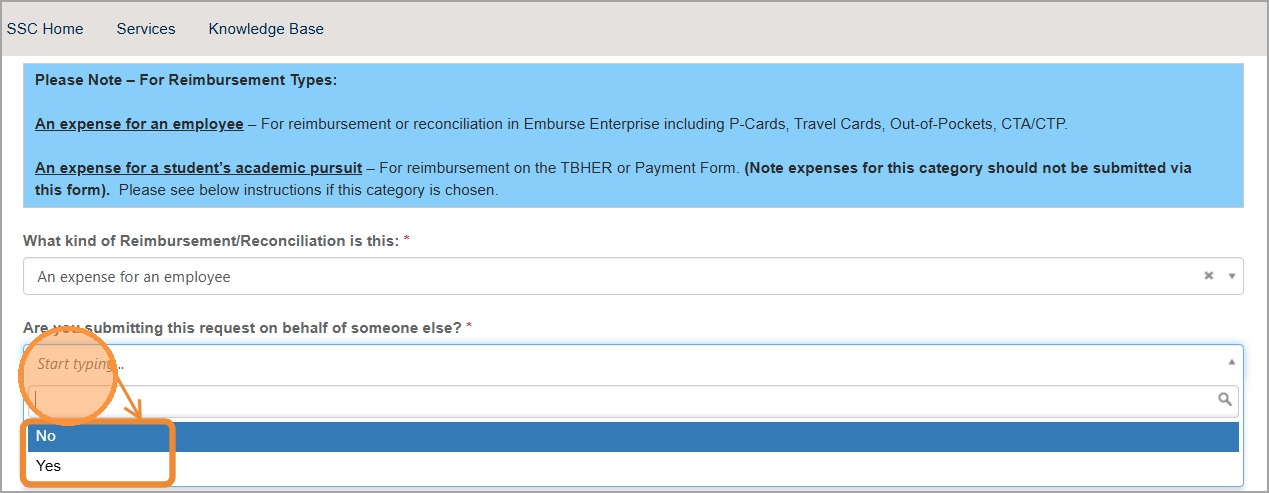
5. If "Yes", you must specify the person for whom you are submitting the report.
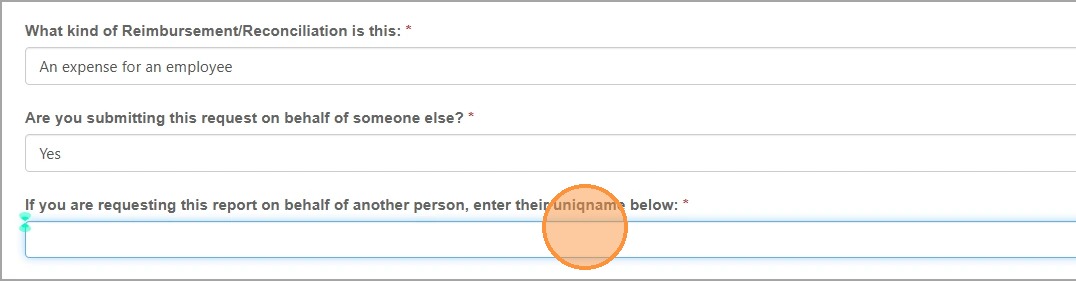
6. Enter uniqname or first and last name of the employee.

7. This field is required. You must decide how you will be submitting your expenses. Ener the information in this eForm is pre-selected.
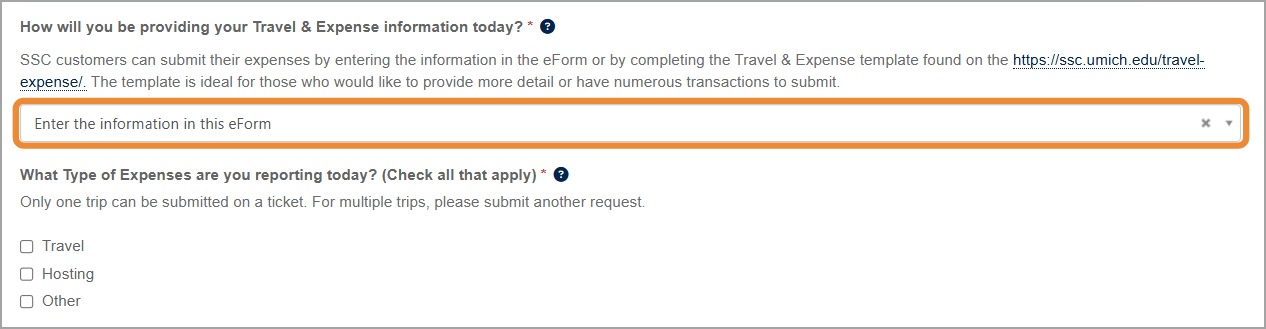
Tip: If you choose to use the template, select that option and the interactive form will adjust accordingly. Refer to the Additional Resources section for more information on using the spreadsheet template.
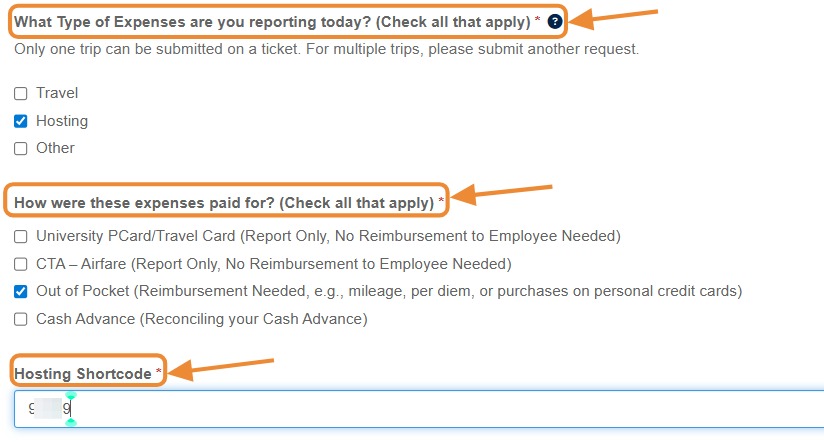
8. Complete remaining fields as required. Fields will vary based on expense type.
Tip: Refer to Before You Start and the Additional Resources sections for tips to make uploading your documentation fast and easy!
9. Finally, you will need to provide the required documentation. Click Browse to upload documentation directly to the eForm.
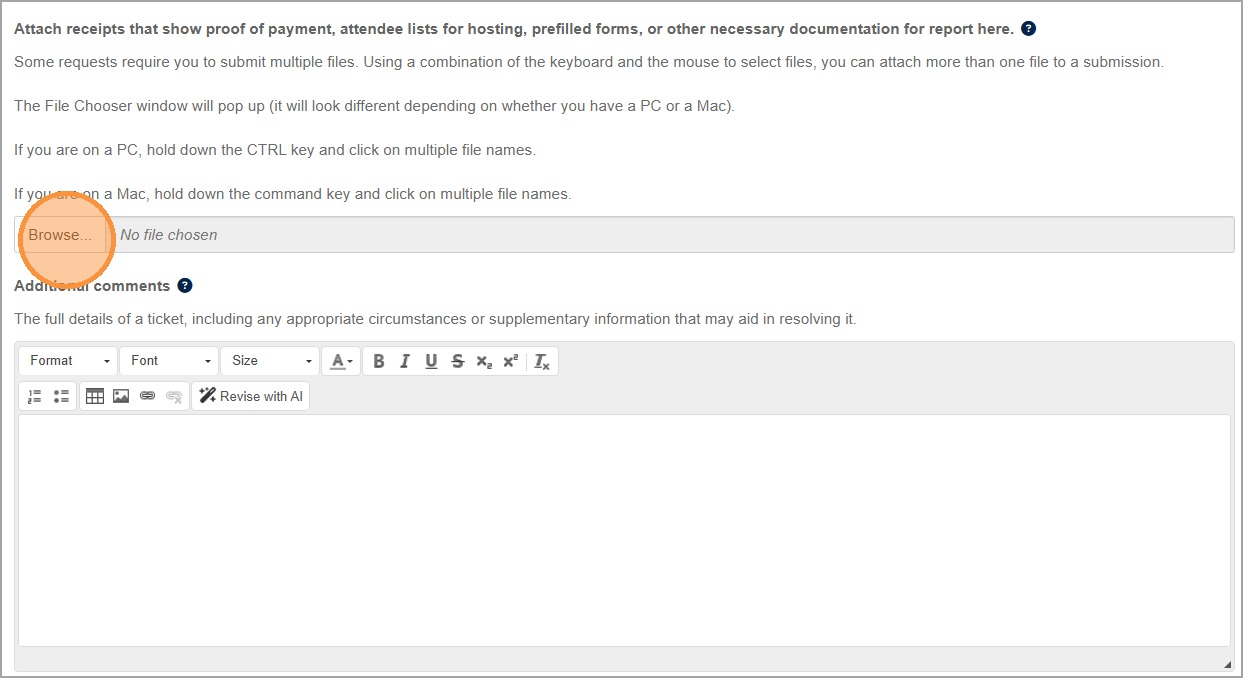
Alert: When uploading supporting documentation, make sure that you include an itemized receipt for any lodging or transportation costs (e.g., airline/train tickets, hotel/Airbnb expenses, or car rentals) or any other expenses over $75. Some units may require you to provide a receipt for all expenses.
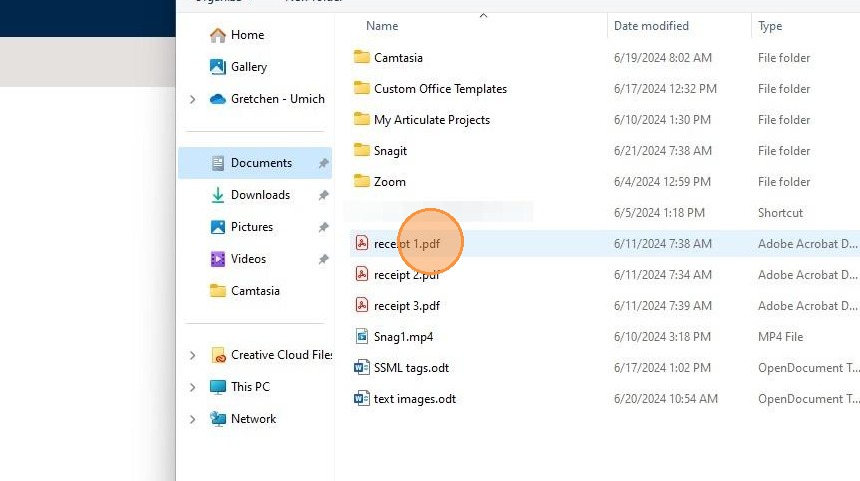
10. Select the first item to upload.
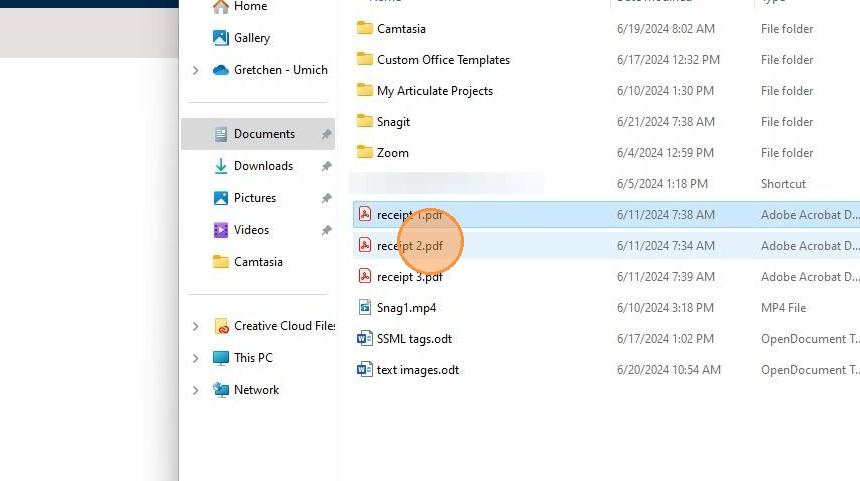
11. Hold down the Control key to multi-select the next item.
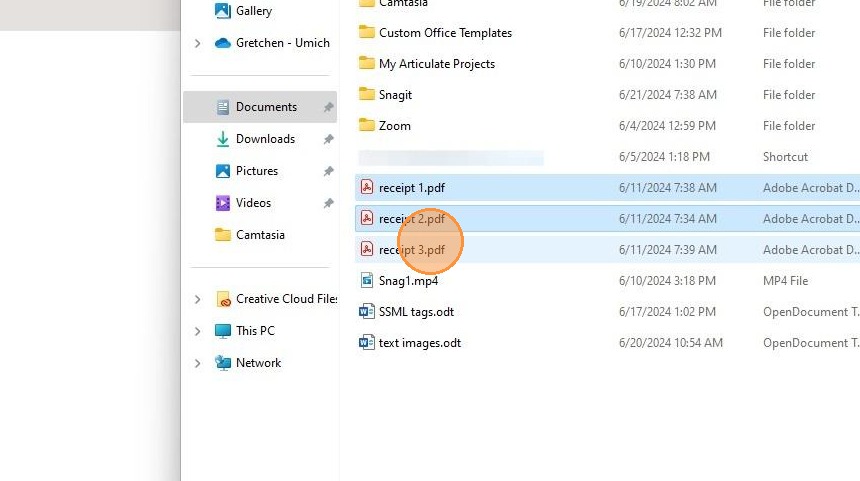
12. Continue holding Control to multi-select until all items are selected.
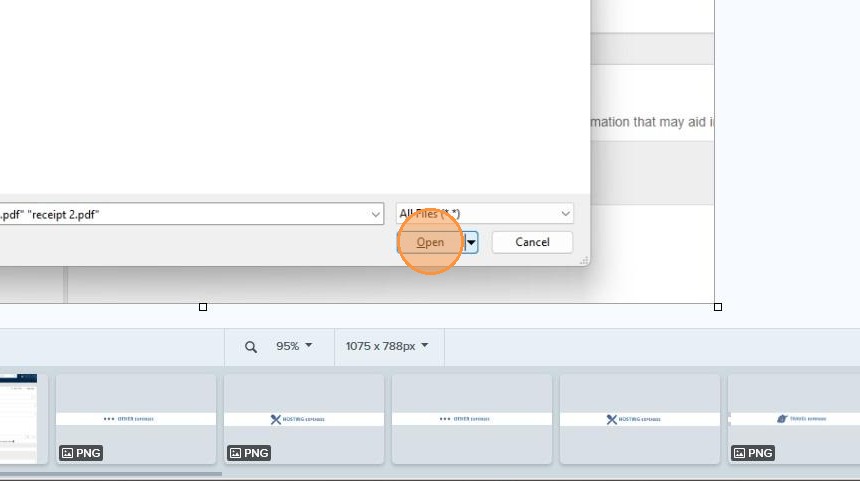
13. Click Open to attach the selected items to the eForm.
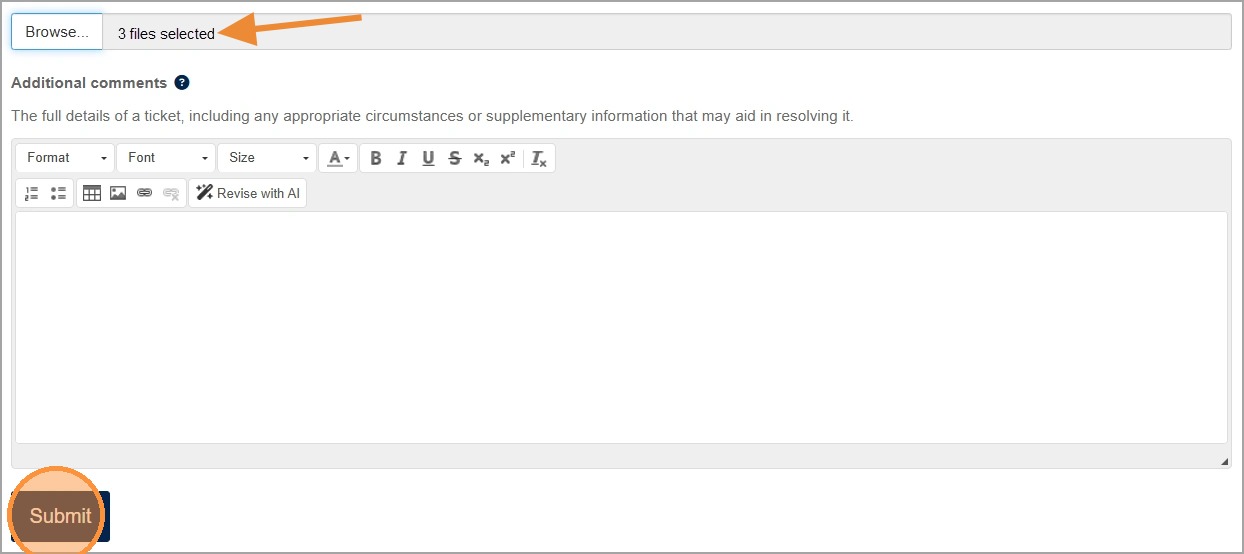
14. When ready, click Submit to submit the request and its attachments.
Alert: Refer to the Additional Resources section for alternative workflows to upload receipts and other required documents. See related sections to enter specific Expense Types and for Additional Resources.