Body
Environment
PaperCut MF Scanning
Issue
How do I use a multifunction print/scan device with PaperCut MF to scan a document?
Resolution
When installed on a Multifunction Printer (MFP), PaperCut MF provides a secure, consistent, and easy way for users to scan documents to their own email address and other authorized cloud storage destinations such as Dropbox and Google Drive.
Use PaperCut MF to Scan a Document
- Swipe your Mcard using the attached card reader or manually log in using your uniqname and UMICH password
- On the device’s Home Screen, select PaperCut MF

-
Select Scan

-
Select one of the pre-configured Scan Actions:
- Scan to My Email
- Scan to Dropbox
- Scan to Google Drive
Note: If this is your first time using the Dropbox or Google Drive option, you will receive an email with instructions on how to allow PaperCut MF access to scan to the chosen cloud storage provider. View sample instructions for Authorizing Scan to Cloud Storage.

- Edit the following items on the Scan Details page, as applicable:
- Depending on whether you selected the email or scan to storage option, edit the email subject or the filename
- Click Change settings to select additional customization options such as Duplex Mode, DPI, Color mode, etc.
- The Prompt for more pages checkbox is selected by default, prompting you after each scan to add more pages or finish the scan action. If desired, click the checkbox to deselect this action
-
Click Start to begin the scan. Once finished, a scan completed message displays and you are returned to the main PaperCut MF options

-
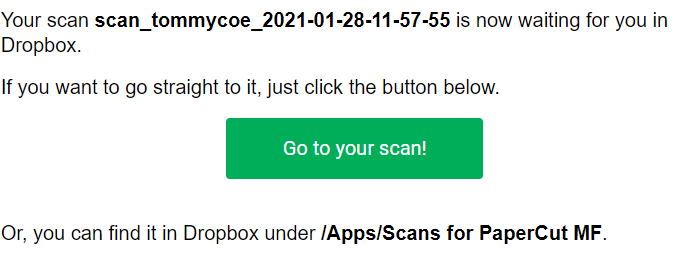
If you are scanning to cloud storage such as Dropbox, you’ll receive an email indicating that your scan has been completed and is waiting for you

Authorize Scan to Cloud Storage
While the following instructions demonstrate authorization of Dropbox, the steps are very similar when scanning to Google Drive.
- Log into Dropbox on your computer prior to scanning something on the multifunction device
- After completing the steps to scan to Dropbox, you’ll receive an email from "Scans for PaperCut" asking you to authorize PaperCut MF to save files inside your Dropbox folder
- Open the email and click Login to Dropbox

-
After completing the login process, click Allow

- Once access has been granted, you’ll receive an email confirming that the process has been successful
Note: Scanned documents typically are located in a folder titled “Scans for PaperCut MF” across all cloud storage solutions.
Revoke PaperCut MF’s access to my Cloud Storage
The steps to revoke an app’s access to your account will vary depending on which cloud storage provider you are using. Note that if you remove access, you can easily add it back by scanning to that cloud storage provider and going through the authorization process again.
Dropbox
Go to help.dropbox.com/installs-integrations/third-party/third-party-apps, then follow the steps under How to disconnect a third-party app from your Dropbox account.
Google Drive
Go to support.google.com/accounts/answer/3466521?hl=en&ref_topic=7188760 and follow the steps under Remove third-party account access.
Additional Information
PaperCut MF’s scan to cloud storage integration has been tested to work with Xerox MFPs and HP MFPs with a minimum firmware version of FutureSmart 4. Other manufacturers’ devices may also work, but we have not been able to test them yet. Some HP devices may need to have the hard drive wiped before canning to cloud storage will properly work. Please reach out to the MPrint Team if you have questions about this, or if you would like to try setting up scan to cloud storage on a device by a different manufacturer than those listed above.
Need additional information or assistance? Contact the ITS Service Center.